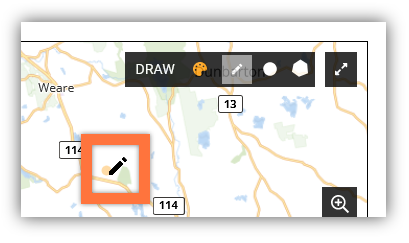
You can add labeled lines, circles, and polygons to the Rave Collaborate map to clarify geographic context for an ongoing event.
All other administrators logging into Rave Collaborate to view your map will see your annotations in Real time.
Important -- Screenshot These Annotations If You Want to Save Them
These Annotations are not currently saved in reports. Right now, annotations remain available while an event remains active. Once an administrator ends the event, the map and any annotations are no longer accessible.
Rave Mobile Safety intends to expand reporting to capture this information. We will notify you when that release is planned. In the meantime, take a screenshot of any annotations you would like to save before ending an event.
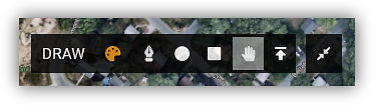
To add annotations to the Rave Collaborate map, select a tool from the annotation menu. Different tools perform different actions.
 |
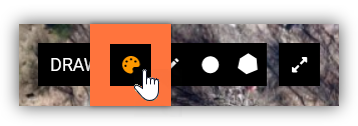
Before adding an annotation to the map, you can choose a custom color. Different annotations can have the same color to communicate groupings, or you can change the color of each annotation.
To choose an annotation color:
-
Select the paint palette icon on the left side of the drawing menu.
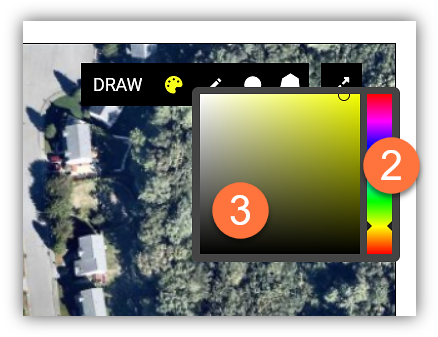
The color picker box opens.
-
Drag the hue slider to change the color in the color picker box.
-
Click within the color picker box to choose your shape color.
Rave Collaborate will now use the color you picked for all annotations you create using the drawing tools until you choose a new color.
You can see the currently active color in the paint palette icon.
Note - Right Click on an Annotation After Creating It to Change the Color
annotation color can be edited at any time.
To add a line to the map:
-
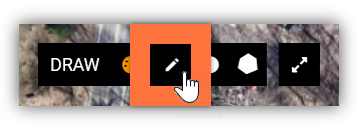
Select the line tool on the map options.
-
Move your cursor to where you want your line to start. When the draw tools are active, the cursor displays the draw tool icon telling you where your click will impact the map.
-
Click and hold down the mouse.
-
Drag your cursor to draw your line on the map. You can curve or overlap your line.
-
Release your cursor when you’ve completed your line.

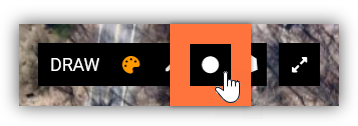
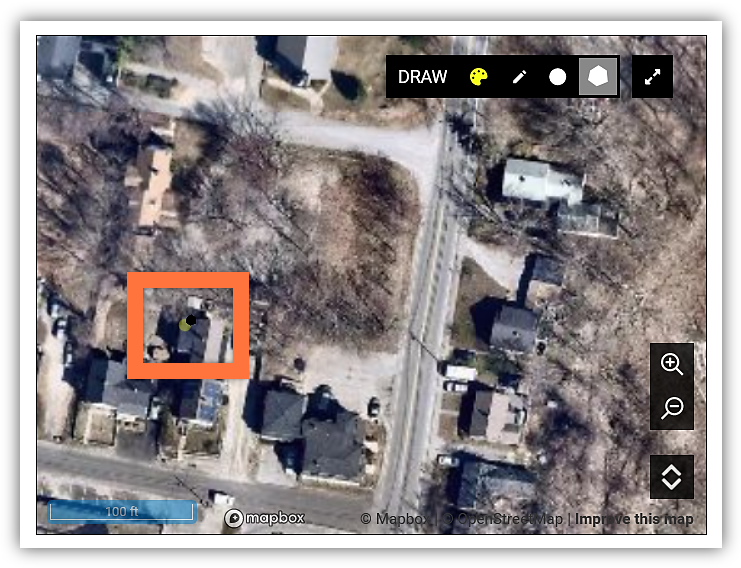
To add a circle to the map:
-
Select the Circle tool on the map options.
-
Move your cursor to where you would like the center of your circle. When the draw tools are active, the cursor displays the draw tool icon telling you where your click will impact the map.
-
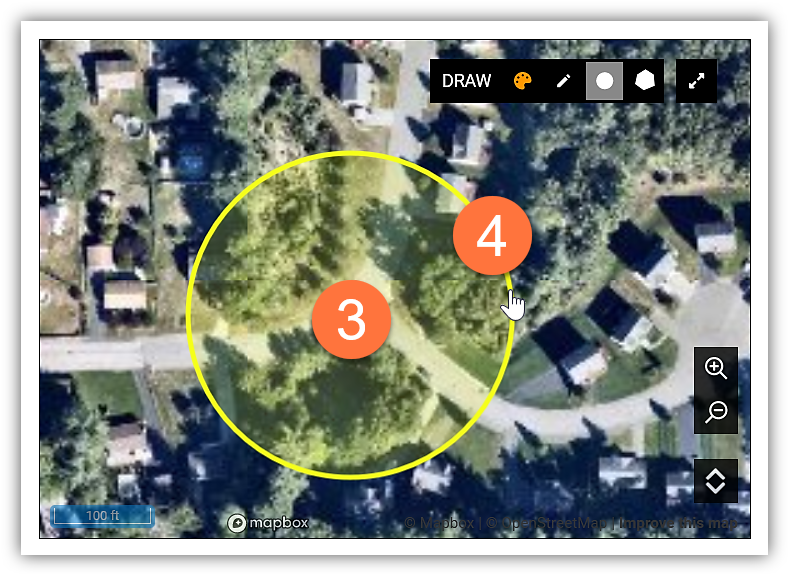
Click to set down the center of your circle.
-
Move your mouse outwards from the center point. Rave Collaborate expands a preview of the circle outwards based on how far you move your cursor.
-
Click to finalize your circle at your desired size.
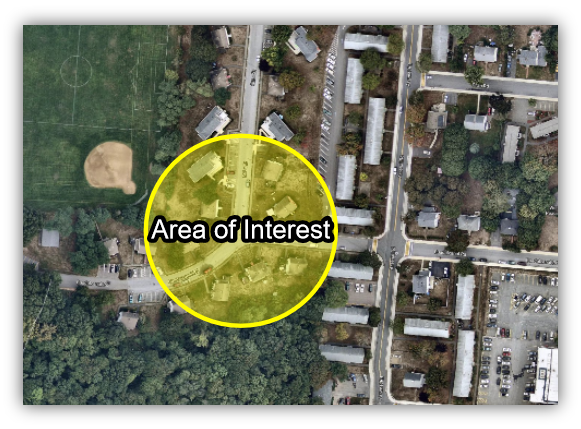
Circles contain transparent overlays with the color you chose, so they can highlight areas while keeping them readable.
 |
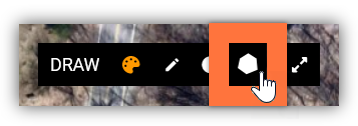
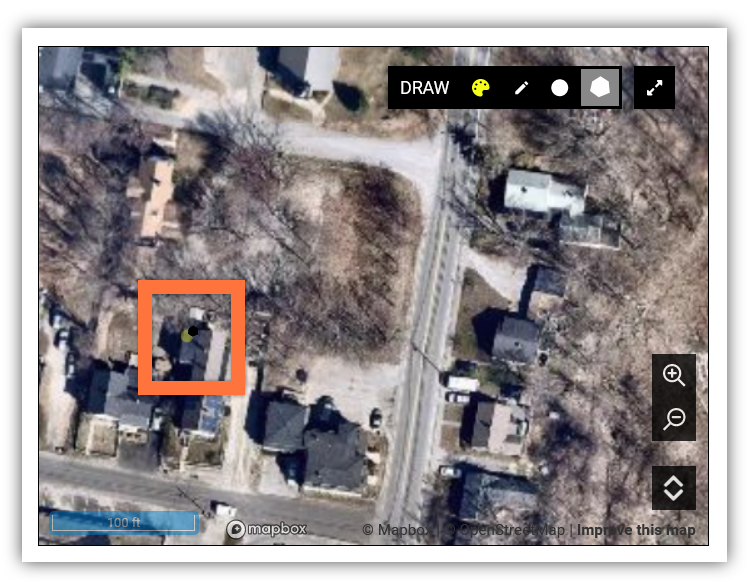
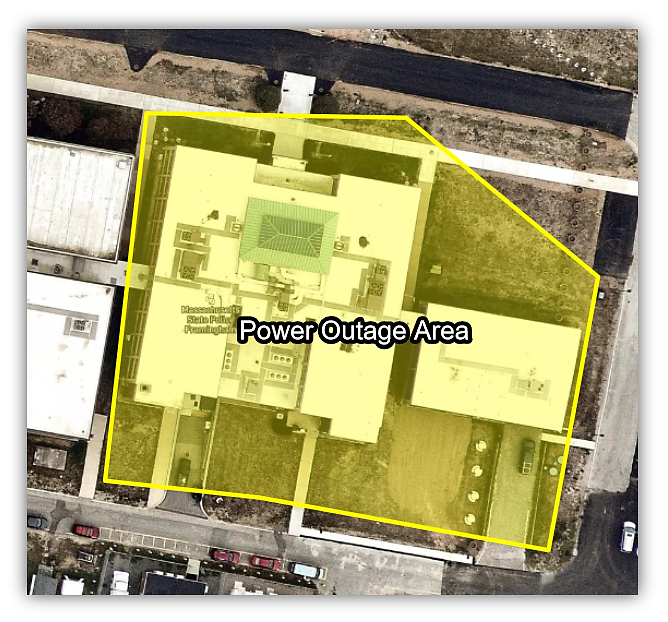
To add a polygon to the map:
-
Select the Polygon tool on the map options.
-
Move your cursor to where you would like one edge of your polygon to be. When the draw tools are active, the cursor displays the draw tool icon telling you where your click will impact the map.
-
Click to set down the first point in your polygon’s outline.
-
Move your mouse to where you’d like more points in your polygon’s outline.
-
Click each time you want to set down another point. Rave Collaborate expands the polygon to fill in the area between your existing points, giving you a preview of your shape.
-
Double-click to finalize the polygon in your desired shape.
Polygons contain transparent overlays of the color you chose, so they can highlight areas of the map while keeping them readable.
 |